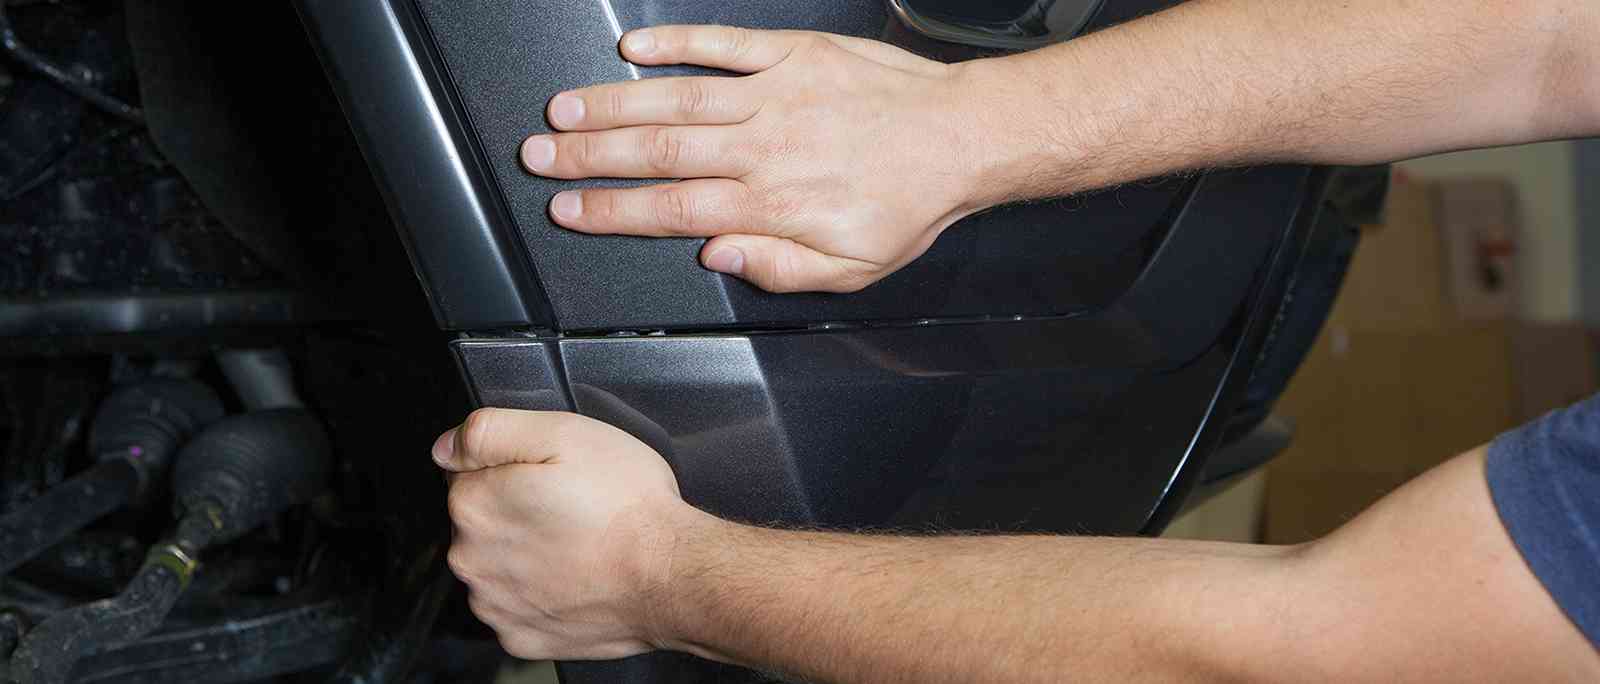
Removing and installing the lower front fascia (aka 'lower front air dam') on 2011-2016 Jeep Grand Cherokees can be a bit tricky. Jeep designed the lower front fascia to be removed when heading off-road and re-installed whenever you return to bitumen. It's a great feature and Jeep provides basic instructions in the Owners Manual, but we often get requests from customers who are attempting it for the first time and are eager for some easy-to-follow-instructions.
To make things a bit easier we've also created a PDF version of these instructions, (DOWNLOAD).
REMOVAL
-
Remove quarter-turn fasteners at each corner.
Looking from underneath the lower fascia, locate the (2) quarter-turn fasteners at each corner, (driver & passenger). Turn each fastener 1/4 turn and remove.
-
Remove quarter-turn fasteners at centre.
Looking from underneath the lower fascia, locate the (3) quarter-turn fasteners at the centre. Turn each fastener 1/4 turn and remove.
-
Disconnect corners of Lower Fascia.
While holding the bumper cover in position with one hand, pull the corner of lower fascia forward with your other hand. The first time may be a bit difficult, but if you are bracing the bumper cover, feel free to give it a good tug until it pops out. Do this on both sides (driver & passenger).
-
Disconnect Lower Fascia.
With the corners removed, move towards the centre and continue pulling the lower fascia away from the vehicle. It works best if you brace the bumper above where you’re pulling. Keep moving along until the lower fascia is completely removed. Be careful not to let the lower fascia fall onto the ground, it is easily scratched.
-
Lower Fascia is now fully removed.

INSTALLATION
-
Attach corners of Lower Fascia.
Slide the tabs on the corner of the lower fascia into the slots on the bumper cover. Do this on both sides (driver & passenger). It’s helpful to have someone hold 1 corner in place while you do the other.
-
Install centre of Lower Fascia.
Making sure the tabs are aligned with the corresponding slots on the bumper cover, push until the tabs click into place.
-
Install quarter-turn fasteners at centre.
Looking from underneath the lower fascia, insert the (3) quarter-turn fasteners through the plastic tabs on the air baffle and into the slots in the sub-frame. Turn each fastener 1/4 turn to secure.
-
Install quarter-turn fasteners at each corner.
Looking from underneath the lower fascia, insert both quarter-turn fasteners and secure. Insert (1) quarter-turn fastener through the slot in the felt wheel well liner and into the slot on the lower front fascia (red). Turn 1/4 turn to secure. Insert (1) quarter-turn fastener through the slot on the lower front fascia and into the bumper cover (green). Turn 1/4 turn to secure. Do this at both corners, (driver & passenger).
-
Lower Fascia is now fully installed.

NOTE
Removing the lower front fascia keeps it safe when you're heading off-road, but it still leaves the critical components behind the fascia, (Lower Radiator Core, ACC Camera, Windshield Washer Bottle and Air Suspension Controller) exposed to damage. To tackle this problem, Chief Products engineered the WK2 Lower Front Guard. Weighing only 15kg (approx.) when fully installed, it installs behind the lower front fascia, providing protection for this area off-road while still allowing you to maintain a factory appearance on-road.


12 Comments
Andrew K
July 23, 2021
Does the 2015 lower front facia grill on the jeep grand Cherokee fit on a 2013 model? Are the contours the same?
Adnan
November 22, 2019
Here is the video link for those who need it.
https://youtu.be/U3OVcFlofbY
Martin Lee
November 22, 2019
I recently removed the lower facia from my 2016 Summit and it was considerably more tricky than this. There around 15 smaller plastic fittings that also need to be removed and they are difficult to get to and the connecting hooks on the upper bumper are soft plastic and often break in the process (I broke 5). I would recommend doing it on a raised car bed in a workshop.
Peter King
August 21, 2019
I have just done this to remove a towing hook on my 2014 Jeep GC.
Thanks for a great tutorial. I found it quite easy to remove and replace the lower bumper. I struggled a bit with the hook!
Jerry Harrell
April 25, 2019
I would like to see similar components for Jeeps 2018 Compass MP. I want to increase the approach angle.
MIchael
April 23, 2019
Does it work with 18 Altitude the same way? I would like to add Tow Hooks on my JGC but I’m not sure if I have to remove whole front bumper or just lower grille fascia. Thanks
Matt
May 02, 2018
Do they sell a lower fascia trim or cap instead of putting on the whole lower fascia on a 2016 Jeep Grand Cherokee Limited
Lan
August 07, 2016
Can front fascia be removed and reinstalled on the wk2 summit model? Sales sd yes, dealer shop says no, others say maybe. You? Perhaps with modifications such as wing nuts or ???
Len Stubenfoll
September 06, 2015
Do you have a photo of the entire jeep (front view) with it removed?
Chief Team
July 29, 2015
These instructions apply to all WK2s (2011-2016 Jeep Grand Cherokees). Even though the WK2 received a facelift in 2013 with a new lower front fascia, all of the steps are exactly the same for 2011-2016 WK2s. All of the fasteners are located in the same location.
Constantin
July 11, 2015
Thanks a lot for this article! Does it work with WK2 made 2010-2013 the same way? Are the fasteners located at the same places?
steven
May 21, 2015
Would love to see a video tutorial on this, as there is none on youtube